High Protein Chicken Caesar Wrap Meal Prep (Cheap Lunch for the Week)
Monday rolls around, and you’re staring at your lunch options. Last week’s leftover chicken was dry. The store-bought wraps were overpriced and underwhelming. You’re hungry, your wallet is lighter, and you’re tired of the same old protein-bored routine.
Here’s what I’ve learned after years of meal prepping: the best lunch is the one you actually look forward to eating. That’s why this High Protein chicken caesar wrap meal prep has become my go-to strategy for staying full, staying on budget, and never once feeling like I’m eating “diet food.” These aren’t those sad, flavorless wraps that make you question your life choices by 2 p.m. They’re crispy, creamy, loaded with flavor, and pack nearly 30 grams of protein per wrap.
The genius part? You prep everything on Sunday, grab a wrap each morning, and you’re done. No last-minute decisions. No vending machine temptation. Just real food that tastes genuinely good and keeps you satisfied through your entire workday.
Why You’ll Love This Recipe
- Nearly 30g of protein per wrap keeps you full from lunch straight through to dinner, no 3 p.m. energy crash
- Total prep time under 45 minutes for five days of lunches, meaning you spend less time cooking and more time actually living
- Budget-friendly ingredients you probably already have in your pantry, with chicken costing just a few dollars per serving
- Naturally meal-prep friendly everything stays fresh in the fridge for up to four days, and you can assemble fresh each morning if you prefer
- Genuinely delicious this tastes nothing like “healthy meal prep food” and everything like a restaurant lunch you’d happily pay $14 for
Why This Recipe Packs So Much Protein
Let’s be honest: not all lunches are created equal. This chicken caesar wrap meal prep delivers serious protein for one simple reason: chicken breast is basically the most efficient protein vehicle nature invented. Three ounces of cooked chicken breast gives you about 26 grams of protein with minimal fat, making it the foundation of basically every high protein meal plan that actually works.
Table of Contents
But here’s what makes this version special. The parmesan cheese adds another layer of protein (plus that salty, umami flavor that makes your brain think you’re eating something decadent). The Greek yogurt in the caesar dressing doesn’t just boost protein, it keeps the whole wrap creamy without requiring mayo or heavy cream. By the time you roll everything together, you’re looking at a lunch that has the staying power of a meal twice its size. That means you stay satisfied, you don’t hit the vending machine at 4 p.m., and you actually stick to your nutrition goals because the food is working with you, not against you.
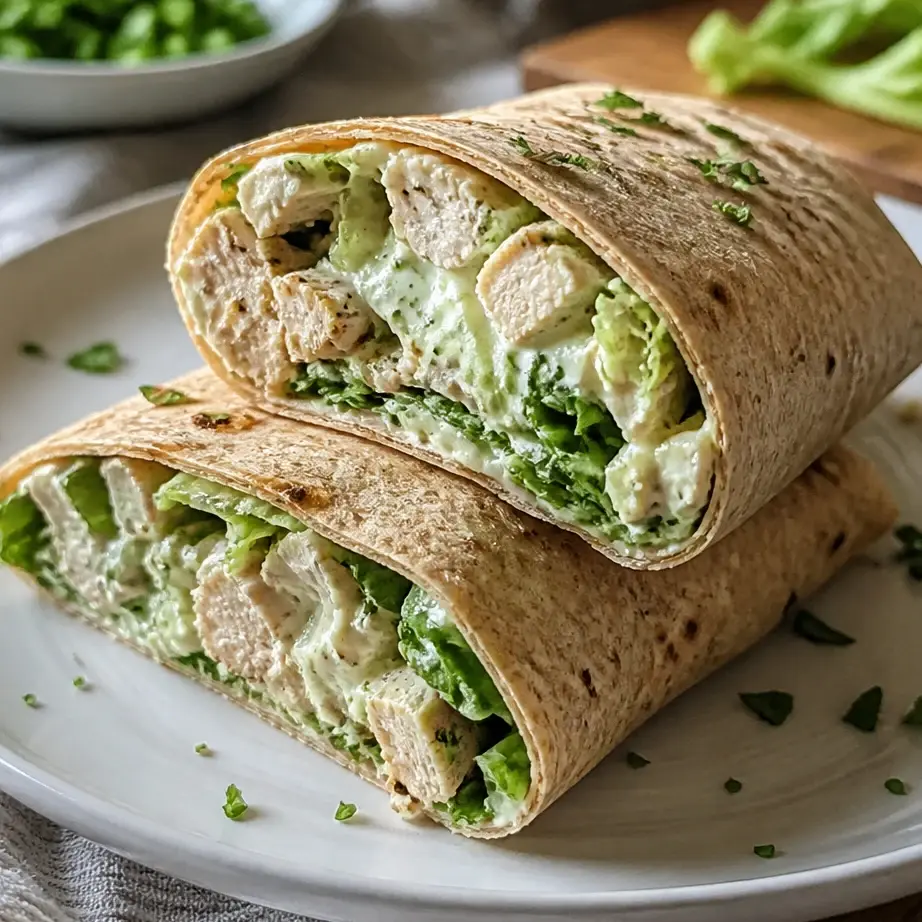
What You’ll Need for Five Days of Wraps
You don’t need anything fancy here. This is honest, accessible ingredient territory.
For the Chicken:
- 1.5 lbs boneless, skinless chicken breasts
- 1 tbsp olive oil
- 1 tsp garlic powder
- Salt and black pepper
- Juice of half a lemon
For the Caesar Dressing:
- 1/2 cup Greek yogurt (plain, full-fat or 2%, your choice)
- 2 tbsp grated parmesan cheese
- 1 tbsp lemon juice
- 1 tsp Dijon mustard
- 2 cloves garlic, minced fine
- 1/2 tsp Worcestershire sauce (optional but deeply worth it)
- Salt and pepper to taste
For Assembly:
- 5 large whole wheat or spinach tortillas (or wraps of your choice)
- 3 cups romaine lettuce, chopped
- 1 cup shredded parmesan cheese
- 1 medium cucumber, thinly sliced
- 1/2 cup cherry tomatoes, halved
- Optional: croutons for crunch, red onion for bite, bacon for richness
A few notes on ingredients: use full-fat Greek yogurt if you can find it, because the dressing will taste creamier and more satisfying. If your grocery store doesn’t carry it, regular Greek yogurt works fine. The parmesan should be freshly grated if possible, not pre-shredded, because pre-shredded cheese has anti-caking agents that keep it from melting nicely into the dressing. And those whole wheat tortillas are doing actual work here, adding fiber that helps with satiety and steadier blood sugar throughout your afternoon.
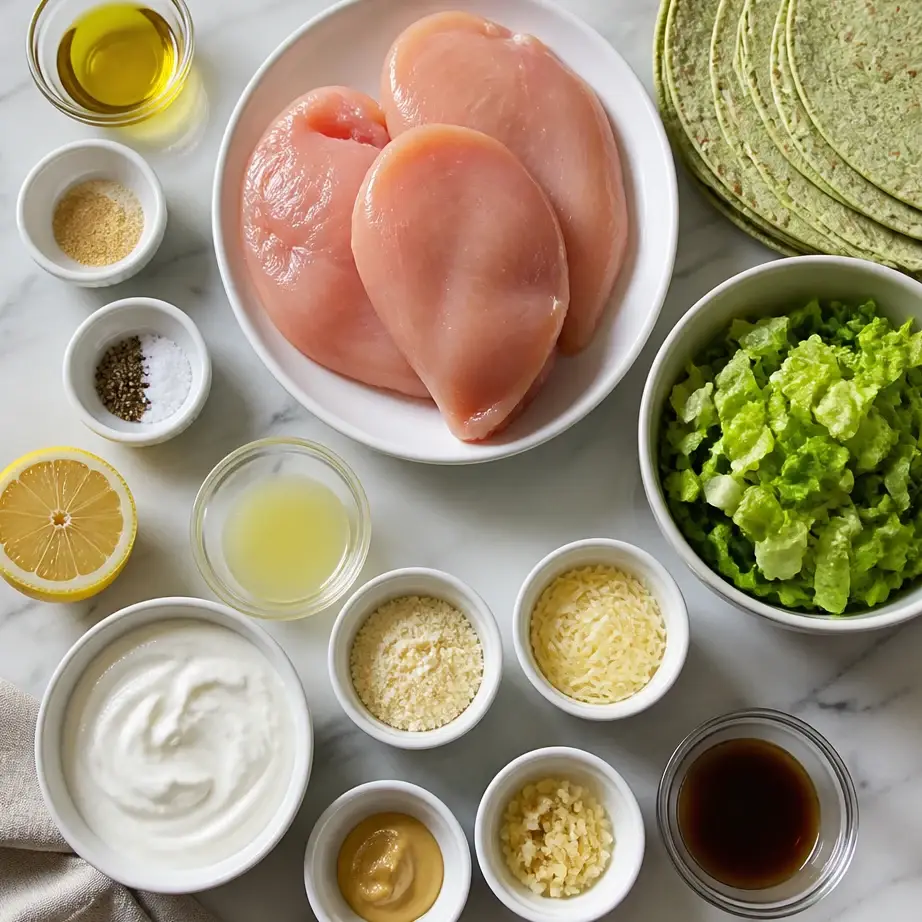
How to Build Your Chicken Caesar Wrap Meal Prep
Step 1: Cook the chicken the right way. Pat your chicken breasts dry with paper towels (this sounds fussy but it genuinely changes how they brown). Heat your olive oil in a large skillet over medium-high heat. Season both sides of the chicken with garlic powder, salt, and pepper. Once the oil is shimmering, place the chicken in the pan and resist the urge to move it around. Let it cook undisturbed for about 6-7 minutes until the bottom is golden. Flip and cook another 6-7 minutes until the internal temperature hits 165°F on an instant-read thermometer. The whole chicken breasts stay juicier if you don’t poke and prod them constantly. Once cooked, squeeze fresh lemon juice over them and let them rest for 5 minutes. This resting period is non-negotiable if you want tender, juicy chicken instead of rubbery chicken.
Step 2: Slice your rested chicken. Once those breasts have cooled slightly, slice them into bite-sized strips or chunks, depending on what feels most sandwich-friendly to you. I tend toward thinner strips because they pack into wraps more neatly, but do what works for your hands and your preference.
Step 3: Make the caesar dressing from scratch. In a small bowl, whisk together your Greek yogurt, grated parmesan, lemon juice, Dijon mustard, minced garlic, Worcestershire sauce if using, and a generous pinch of salt and pepper. Taste it. Adjust. This takes literally three minutes and tastes infinitely better than bottled dressing that’s been sitting in your fridge for six months. The mustard adds tang. The Worcestershire adds depth. The Greek yogurt keeps everything light but creamy.

Step 4: Prep your vegetables. Chop your romaine into bite-sized pieces. Slice your cucumber thin (a mandoline makes this painless, but a sharp knife works). Halve your cherry tomatoes. If you’re using red onion or any other vegetables, prep those now. Get everything into separate containers so you’re not fumbling with prep work on a Tuesday morning before your coffee kicks in.
Step 5: Assemble your wraps or store the components separately. Here’s where you get to choose your own adventure. You can either assemble everything on Sunday and store the wraps wrapped tightly in parchment paper (they stay good for about three days), or you can store each component separately and assemble fresh each morning. I’ve done both, and honestly, assembling fresh takes about two minutes and means your wraps stay crispier. But Sunday assembly is faster overall if speed is your only goal.
If assembling now: lay out your tortilla, spread a generous amount of caesar dressing on the bottom half. Layer your lettuce, chicken, cucumber, tomatoes, and parmesan. Roll tightly from the bottom up, folding in the sides as you go. Wrap each finished wrap in parchment paper and store in an airtight container.
While you are here, take a look at my Chicken Fajita Meal Prep Bowls for more easy ideas.
If storing components: keep the dressing, chicken, veggies, and wraps in separate containers. Assemble each morning. Takes two minutes, tastes fresher, and nobody can fault you for that strategy.
Emma’s Pro Tips for Wrap Success
Tip 1: Cook your chicken the day before if it helps your schedule. Honestly, I sometimes cook chicken on Saturday night instead of Sunday morning just because it spreads the work out. Cooked chicken stays fresh in the fridge for four days, so you’ve got plenty of time. Having it ready to go means when you do your wrap assembly, you’re just chopping vegetables and mixing dressing, which honestly feels less like meal prep and more like light snacking.
Tip 2: Don’t skip the lemon juice on the raw chicken. I promise this isn’t just flavor theater. That squeeze of fresh lemon juice on the warm cooked chicken adds brightness that prevents the whole thing from tasting bland or tired by Wednesday. Same thing goes for squeezing a little extra lemon into your caesar dressing. It’s the difference between “fine meal prep” and “wait, this actually tastes good.”
Tip 3: If you want even more protein without changing the entire recipe, add a thin layer of hummus to your wrap base before the dressing. Hummus adds another 2-3 grams of protein per wrap plus extra flavor and texture. It’s especially helpful if you’re serving these to someone who needs closer to 35 grams of protein per meal. You can also do a combination of hummus and dressing, which sounds weird until you taste it and realize you’ve basically created a flavor explosion.
What Goes With Your Caesar Wrap Lunch
These wraps are honestly substantial enough to stand alone, but they pair beautifully with simple sides that keep your meal balanced without adding tons of time to your prep.
Fruit option: A handful of grapes or berries adds natural sweetness, fiber, and a little carbohydrate boost without requiring any prep. Watermelon is especially refreshing if you’re eating lunch outside during warmer months.
Vegetable option: A small container of baby carrots or bell pepper strips stays fresh all week and gives you something to snack on if you finish your wrap before your hunger actually subsides. Sometimes the wrap is enough protein, but your body wants something to chew on, and having a veggie option prevents you from reaching for crackers or chips.
Grain option: If you want more substantial carbs, pair your wrap with a small portion of hummus and whole grain pita chips, or a piece of fruit and a slice of whole grain bread. The combination of wrap protein plus carbs makes a really balanced meal that sustains energy through an afternoon workout or a mentally demanding afternoon at work.
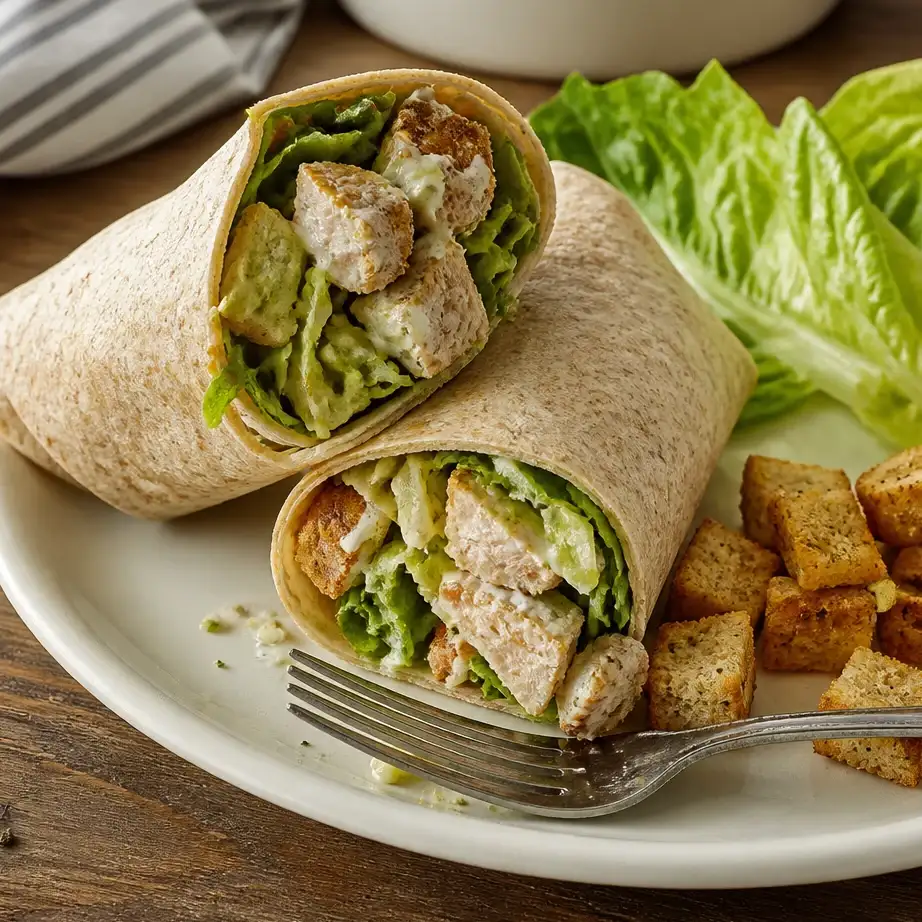
How to Store and Keep Your Wraps Fresh All Week
Assembled wraps: Wrap each finished wrap tightly in parchment paper, then place them in an airtight container in the refrigerator. They’ll stay fresh for three to four days. Don’t use plastic wrap directly against the wrap unless you want it to get soggy. Parchment paper breathes just enough to prevent moisture buildup without drying things out.
Component storage: Keep everything separate. Chicken in one container, veggies in another (store dressing separately so nothing gets soggy), wraps in a paper bag so they don’t dry out. This method takes an extra thirty seconds each morning but extends freshness to the full five days if you prep on Sunday.
Reheating if needed: Honestly, these are meant to be eaten cold or at room temperature. The beauty of caesar wraps is they don’t need reheating. If you absolutely must warm something, warm the chicken separately in the microwave for 30 seconds and cool it slightly before adding to your wrap. Never microwave an assembled wrap unless you enjoy soggy, rubbery outcomes.
Frequently Asked Questions About Caesar Wrap Meal Prep
Can I use rotisserie chicken instead of cooking my own?
Absolutely. Shred about 1.5 lbs of rotisserie chicken (three average birds gives you roughly that amount). You’ll save about twenty minutes of active cooking time. Just drain any excess liquid before mixing with your dressing.
How much protein is actually in each wrap?
About 28-30 grams depending on how thickly you slice your chicken and how much shredded parmesan you add. The chicken breast provides roughly 26 grams, the dressing and cheese combo gives you another 3-4 grams.
If this recipe fits your routine, you will also enjoy my Budget High Protein Chicken.
Can I freeze these for later in the month?
Not if they’re assembled. The lettuce and cucumber will become total mush. If you want to meal prep beyond a week, freeze just the cooked chicken in portions. Thaw in the refrigerator overnight and assemble fresh wraps. Everything else is better fresh or at least same-week storage.
What if I don’t like caesar dressing?
Make a different dressing. A simple lemon-herb yogurt dressing works beautifully. So does a garlic aioli made with Greek yogurt. So does a cilantro-lime dressing if you want to lean more toward a Mexican vibe. The beauty of wraps is they’re a vehicle, and you can fill them with whatever makes you happy.
Can I use flour tortillas instead of whole wheat?
Yes, though they won’t have as much fiber. If you use regular flour tortillas, just be aware your wrap won’t keep you quite as full for quite as long. They’re still delicious and they still work. Sometimes I use spinach tortillas for the extra nutrition and slight flavor upgrade.
Can I make these wraps for my family, including kids?
Completely. Use milder seasoning on the chicken if your kids prefer less bold flavors. Let them help with assembly, which honestly makes them more likely to actually eat the thing. Most kids love the combination of chicken, cheese, and lettuce even if they’re not super adventurous eaters otherwise.
The Lunch You’ll Actually Want to Eat
Here’s the truth about meal prep: if you don’t genuinely enjoy eating what you’ve prepared, you won’t stick with it. You’ll make one week of sad chicken and plain rice and then convince yourself that meal prep is a terrible idea.
This chicken caesar wrap meal prep is different because it doesn’t taste like deprivation. It tastes like the lunch you’d actually order at a restaurant if you had the time and money for that. It keeps you satisfied for hours. It costs about four dollars per serving instead of fourteen. And it takes about forty-five minutes of prep time on a Sunday, which somehow feels reasonable when you know it covers lunch for five entire days.
That’s the meal prep equation that works. That’s the strategy I’ve come back to again and again because it’s sustainable not just for a week or a month, but for actual life. Save this recipe to your Pinterest board for next week when you’re planning your meals, and let me know in the comments if you end up loving these as much as I do.

High Protein Chicken Caesar Wrap Meal Prep (Cheap Lunch for the Week)
Equipment
- large skillet
- small mixing bowl
- cutting board
- sharp knife
- instant-read thermometer
Ingredients
- 1.5 lbs boneless, skinless chicken breasts
- 1 tbsp olive oil
- 1 tsp garlic powder
- Salt and black pepper
- Juice of half a lemon
- 1/2 cup Greek yogurt, full-fat or 2%
- 2 tbsp grated parmesan cheese
- 1 tbsp lemon juice
- 1 tsp Dijon mustard
- 2 cloves garlic, minced
- 1/2 tsp Worcestershire sauce, optional
- 5 large whole wheat or spinach tortillas
- 3 cups romaine lettuce, chopped
- 1 cup shredded parmesan cheese
- 1 medium cucumber, thinly sliced
- 1/2 cup cherry tomatoes, halved
- Optional: croutons, red onion, bacon
Instructions
- Step 1: Pat chicken breasts dry with paper towels. Heat olive oil in large skillet over medium-high heat. Season chicken with garlic powder, salt, and pepper. Cook undisturbed for 6-7 minutes until golden brown on bottom. Flip and cook another 6-7 minutes until internal temperature reaches 165°F. Squeeze fresh lemon juice over chicken and let rest 5 minutes.
- Step 2: Once cooled slightly, slice rested chicken into bite-sized strips or chunks.
- Step 3: In a small bowl, whisk together Greek yogurt, grated parmesan, lemon juice, Dijon mustard, minced garlic, Worcestershire sauce if using, salt, and pepper. Taste and adjust seasonings.
- Step 4: Chop romaine lettuce into bite-sized pieces. Slice cucumber thin. Halve cherry tomatoes. Store all vegetables in separate containers.
- Step 5: Assemble wraps by laying out tortilla, spreading caesar dressing on bottom half, layering lettuce, chicken, cucumber, tomatoes, and parmesan. Roll tightly from bottom up, folding in sides. Wrap in parchment paper and store in airtight container. Alternatively, store all components separately and assemble fresh each morning.