Crispy Baked Chicken Thigh Meal Prep (High Protein, Under $12/Week)
Chicken thighs have a reputation problem. Everyone talks about chicken breasts like they’re the only way to eat protein. But here’s what I’ve learned after years of meal prepping: thighs are juicier, cheaper, and honestly more forgiving when you’re cooking for a crowd or stacking containers for the week ahead.
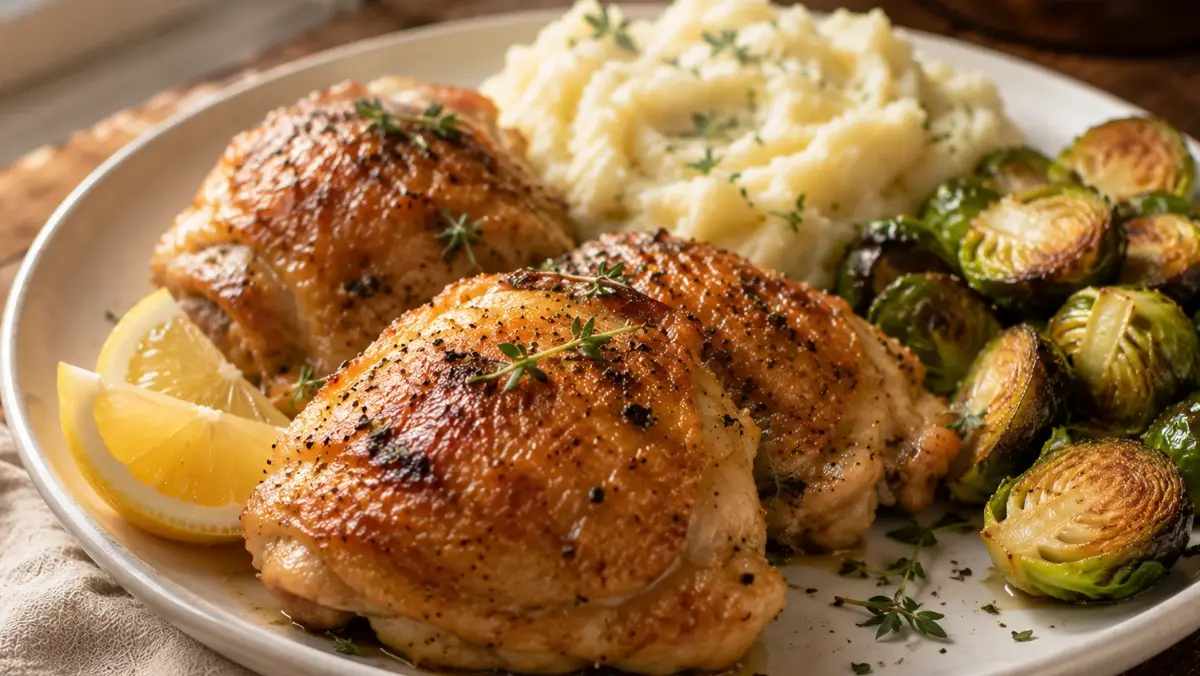
The real game-changer? Getting them crispy in the oven without a deep fryer or a mountain of oil. That’s what this crispy baked chicken thigh meal prep does. You’ll have golden, crunchy skin, tender meat underneath, and enough protein to keep you satisfied through lunch and beyond. And at under $3 per serving, this meal earns a permanent spot in my rotation.
This isn’t complicated. It’s not trendy. It’s just the kind of honest food that works because it tastes good and doesn’t ask you to spend your paycheck on ingredients. Let me show you how I make it.
Why This Recipe Deserves a Spot in Your Weekly Lineup
- 35+ grams of protein per serving that keeps you full without the stuffed feeling from chicken breast
- Ready in under 40 minutes from oven to table, with mostly hands-off cooking time
- Budget-friendly basics – chicken thighs, pantry spices, and nothing you can’t find at any grocery store
- Meal-prep gold – stores beautifully in containers, reheats perfectly, and tastes even better the next day
The Protein Story Behind This Meal
Chicken thighs are a quiet powerhouse. One medium thigh gives you roughly 26 grams of protein, and since this recipe yields 4-5 thighs per batch, you’re looking at over 35 grams per serving without any fancy additions or protein powder. That matters because protein isn’t just about building muscle – it’s about stable energy, appetite control, and actually feeling satisfied at 3pm instead of raiding the office snack drawer.
Table of Contents
The fat content in thighs also works in your favor here. That “problem” everyone talks about? It’s exactly what keeps the meat from drying out during baking and what creates that crispy, golden skin you’re craving. You’re getting nutrient density alongside protein, which means your body actually absorbs and uses what you’re eating.
Ingredients You Already Have (Or Can Grab Today)
I’m not including anything exotic. This recipe lives in the real world where you shop at regular stores and your spice rack isn’t a specialty collection.
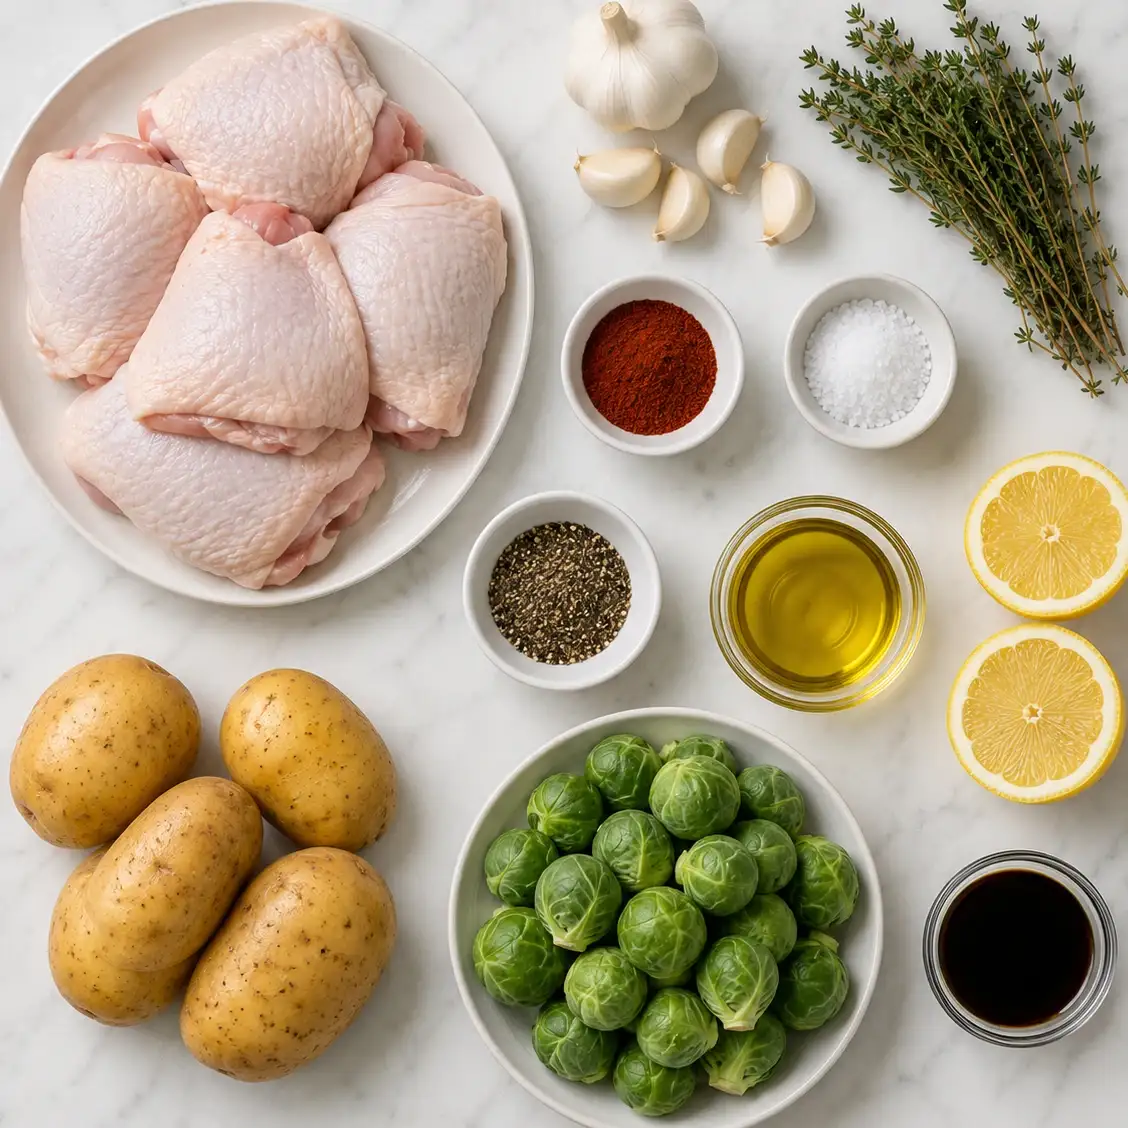
- 6 bone-in, skin-on chicken thighs (about 2.5 pounds)
- 2 tablespoons olive oil
- 1.5 teaspoons kosher salt
- 1 teaspoon black pepper
- 1 teaspoon garlic powder
- 1 teaspoon paprika (smoked paprika is even better)
- 0.5 teaspoon dried thyme
- 0.5 teaspoon cayenne pepper (optional, but it adds a subtle kick without heat)
- Juice of half a lemon
- Fresh thyme or parsley for finishing (optional)
A quick note on the thighs: bone-in, skin-on is non-negotiable here. That’s what gets crispy. Boneless thighs cook unevenly and won’t give you the texture we’re after. And yes, buy them on sale when you can – that’s how we hit that under-$12 weekly budget.
How to Make Crispy Baked Chicken Thigh Meal Prep
Step 1: Prep your pan and oven
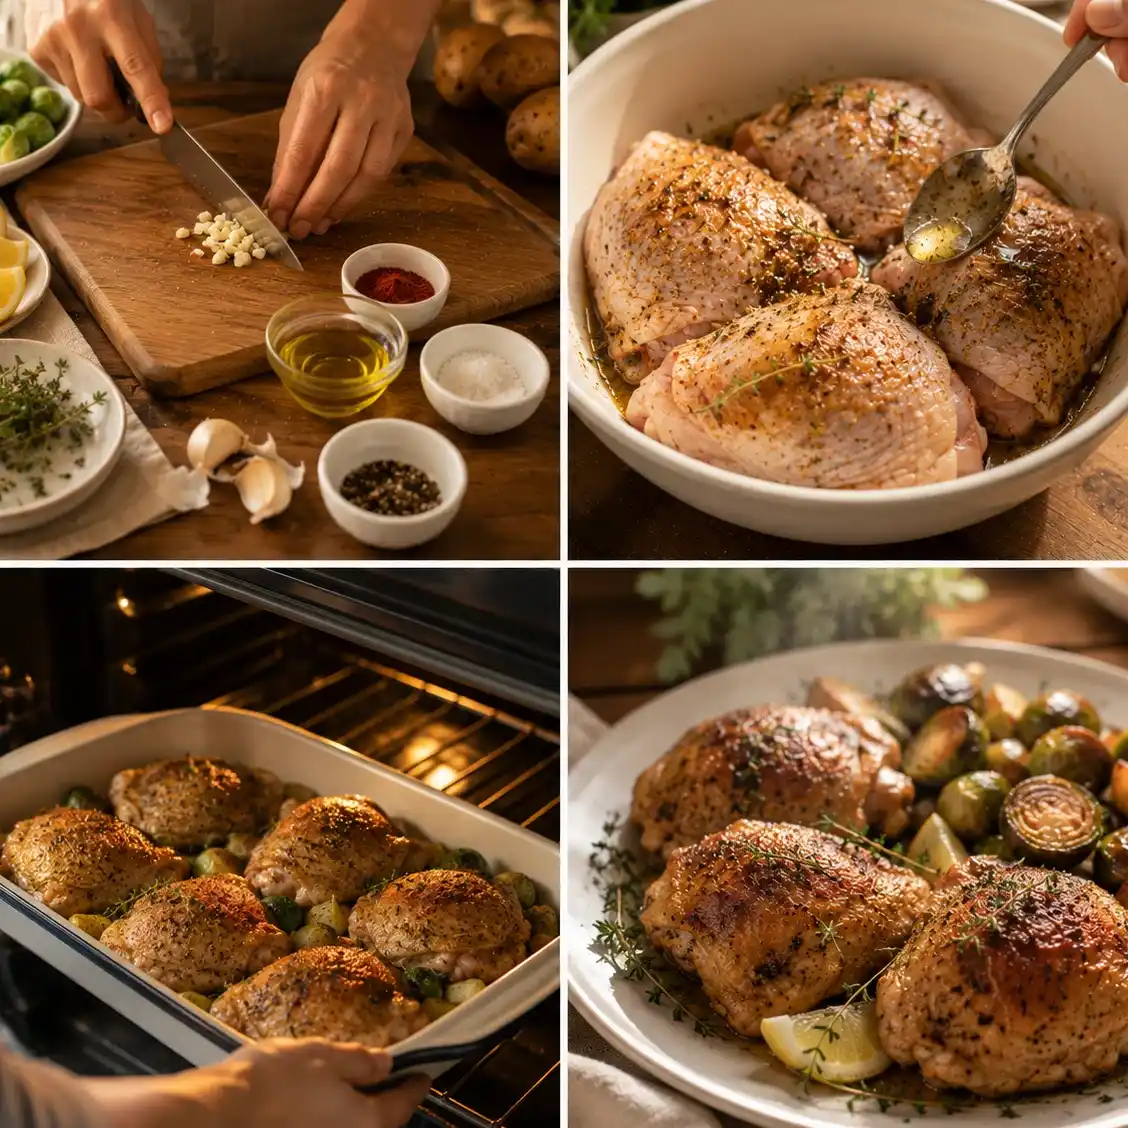
Preheat your oven to 425 degrees Fahrenheit. Line a large baking sheet with parchment paper or lightly oil it. Cold baking sheets cool down your thighs – we need the sheet to stay hot to get that crispy skin.
Step 2: Dry and season the thighs
Pat your chicken thighs completely dry with paper towels. This step determines whether you get crispy skin or steamed skin, so don’t skip it even though it feels tedious. In a small bowl, whisk together salt, pepper, garlic powder, paprika, thyme, and cayenne. Rub the thighs all over with olive oil, then coat generously with your spice mixture. Get the seasoning under the skin if you can – that’s where the magic happens.
Step 3: Arrange and roast
Place thighs skin-side up on your prepared baking sheet. Don’t crowd them. They need space around each one so hot air circulates and skin crisps instead of steaming. Roast for 25-30 minutes, until the skin is deeply golden and an instant-read thermometer reads 165 degrees Fahrenheit at the thickest part of the thigh (not touching bone).
Step 4: Rest and finish
Remove from the oven and let the thighs rest for 5 minutes. This redistributes the juices so meat stays moist when you cut into it. Squeeze fresh lemon juice over everything. If you’re using fresh herbs, this is when you scatter them on top.
Step 5: Cool before storing
Let everything come to room temperature before you pack it into containers. Warm food creates steam inside containers, which makes everything soggy by Wednesday. Once cooled, divide into portions based on what works for your week.
Three Things I’ve Learned Making This Every Week
Brine for juicier meat. If you have 30 minutes before cooking, dissolve 2 tablespoons of salt in 2 cups of water and soak your thighs. This keeps the meat incredibly tender, especially if you’re reheating throughout the week. It’s optional but genuinely changes the texture.
Don’t skip the resting step. Those 5 minutes let the muscle fibers relax and reabsorb moisture. Thighs cut into right away release all their juices onto the baking sheet instead of staying in the meat. It sounds small, but it’s the difference between juicy and dry by day three.
Season boldly. The spice mixture I’ve given you isn’t aggressive – it’s balanced. But don’t be shy with it. Under-seasoned chicken tastes like diet food, and we’re not doing that here. Taste as you go and adjust to what you like.
What You’re Looking at Nutritionally
Per serving (1 thigh with seasoning):
- Protein: 35 grams
- Calories: 280
- Carbohydrates: 1 gram
- Fat: 15 grams
These estimates vary based on exact thigh size and how much oil clings to the skin. But the protein number is what matters for meal prep – that’s your anchor.
Three Ways to Build Your Bowl Around This
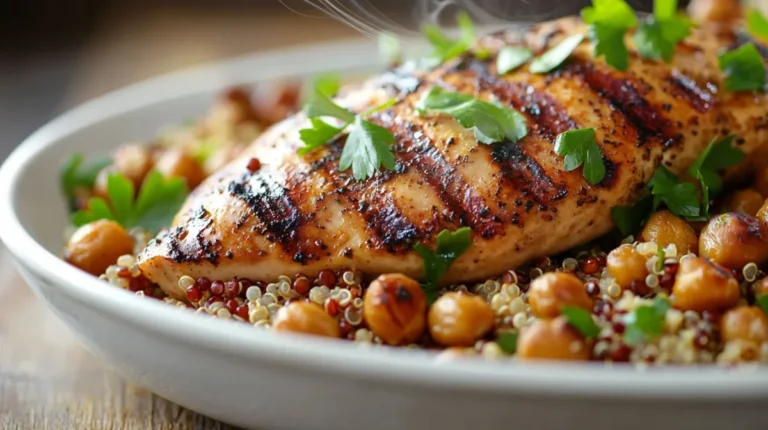
Option one: The grain base. Rice or quinoa underneath, thigh on top, roasted broccoli or green beans on the side. Pour any pan drippings over the grain. Done.
Option two: The salad power move. Chopped greens, cucumber, tomato, and crumbled feta. One chicken thigh torn into pieces. Lemon vinaigrette. You’ve got a budget high protein chicken salad that tastes like you tried harder than you actually did.
Option three: The veggie-forward plate. Roasted potatoes, Brussels sprouts, and asparagus all on one sheet pan meal prep with your thighs. Cook everything together, separate for the week. One tray, one cleanup.
Storing and Reheating This Meal
Store cooled chicken thighs in airtight containers for up to four days in the refrigerator. They’ll keep their texture and flavor beautifully. You can freeze them for up to three months if you’re meal prepping ahead.
To reheat: place on a baking sheet at 350 degrees for 8-10 minutes until warmed through. The oven prevents the skin from getting soggy like a microwave would. If you’re in a rush, microwave works – just accept that the skin softens. It’s still delicious, just not crispy.
What Makes This Budget-Friendly Without Feeling Like a Sacrifice
Chicken thighs cost roughly 40% less than breasts. Spices are pennies. Oil is oil. A batch of six thighs runs about $8-10 depending on where you shop, and that’s four to five meals. Add rice or potatoes at another $2-3, some vegetables at another dollar or two, and you’re solidly under $12 per person for the entire week.
That’s the opposite of restriction. That’s cheap weekly meal prep that doesn’t taste cheap.
Questions You Might Actually Have
Can I use boneless thighs instead?
Technically yes, but you won’t get crispy skin. Boneless thighs also cook unevenly – edges dry out while centers stay underdone. Stick with bone-in if texture matters to you.
What if I don’t have paprika?
Use garlic powder and black pepper as your base. Add a pinch of dried oregano or Italian seasoning. The paprika adds color and a subtle depth, but the meal works without it.
How do I know when they’re actually done?
165 degrees Fahrenheit is your number. Use an instant-read thermometer. Check the thickest part of the thigh without touching bone. If you don’t have a thermometer, cut into the thickest part – juices should run clear and meat should be white with no pink.
Can I cook these on a grill instead?
Yes. Medium-high heat, skin-side down first for 6-8 minutes, then flip and cook another 8-10 minutes. You lose some of the oven crust, but you gain grill marks and smoky flavor. Both are valid.
What side dishes reheat well with this?
Rice, roasted potatoes, and steamed or roasted vegetables all keep their texture through the week. Fresh salads are better eaten the day of. If you’re making a grain bowl, store the dressing separately.
Can I meal prep just three days’ worth instead of five?
Absolutely. Cook three thighs instead of six. The formula scales perfectly. This recipe is flexible around your schedule, not rigid.
Is there a way to make these even higher protein?
Serve with a side of Greek yogurt or cottage cheese, or add an egg to your breakfast prep from the same batch. But honestly, 35 grams per thigh is substantial enough to build a satisfying meal around.
The Real Reason I Make This Every Single Week
Busy people don’t meal prep because they love standing in the kitchen. They do it because the alternative – deciding what to eat while starving, ordering takeout, eating whatever’s easiest – costs more money and leaves them feeling sluggish.
This recipe strips away that friction. Sunday afternoon, one sheet pan, one oven, and you’re set for four or five days. The thighs taste good enough that you actually want to eat them, which means you actually stick with your week instead of abandoning it by Wednesday.
That’s not motivation. That’s just sensible eating.
Make a batch this week. Pack them into containers. Notice how much simpler your mornings feel when breakfast and lunch are already decided. That’s the real win – not the protein number or the budget, though those matter too. It’s the peace of mind that comes with feeding yourself well without overthinking it.
Drop a comment below if you make this, or save it to your Pinterest board for next week. I’d love to know how your thighs turn out.
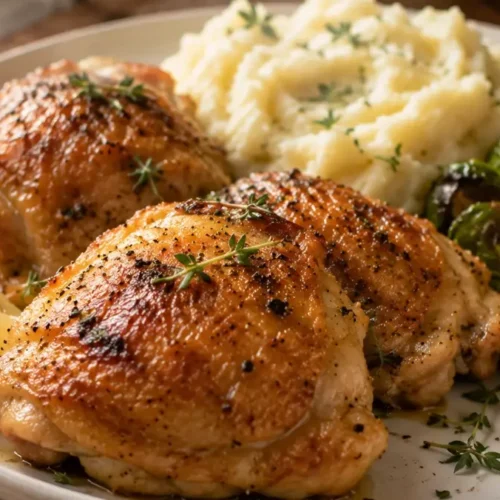
Crispy Baked Chicken Thigh Meal Prep (High Protein, Under $12/Week)
Equipment
- large baking sheet
- parchment paper
- small bowl
- paper towels
- instant-read thermometer
Ingredients
- 6 bone-in, skin-on chicken thighs (about 2.5 pounds)
- 2 tablespoons olive oil
- 1.5 teaspoons kosher salt
- 1 teaspoon black pepper
- 1 teaspoon garlic powder
- 1 teaspoon paprika (smoked paprika recommended)
- 0.5 teaspoon dried thyme
- 0.5 teaspoon cayenne pepper (optional)
- Juice of half a lemon
- Fresh thyme or parsley for finishing (optional)
Instructions
- Step 1: Preheat oven to 425 degrees Fahrenheit. Line a large baking sheet with parchment paper or lightly oil it.
- Step 2: Pat chicken thighs completely dry with paper towels. Whisk together salt, pepper, garlic powder, paprika, thyme, and cayenne in a small bowl. Rub thighs with olive oil, then coat generously with spice mixture, getting seasoning under the skin.
- Step 3: Arrange thighs skin-side up on prepared baking sheet with space between each one. Roast for 25-30 minutes until skin is deeply golden and internal temperature reaches 165 degrees Fahrenheit at thickest part of thigh.
- Step 4: Remove from oven and let rest for 5 minutes. Squeeze fresh lemon juice over everything and scatter fresh herbs if using.
- Step 5: Cool to room temperature before packing into airtight containers to prevent steam and sogginess.