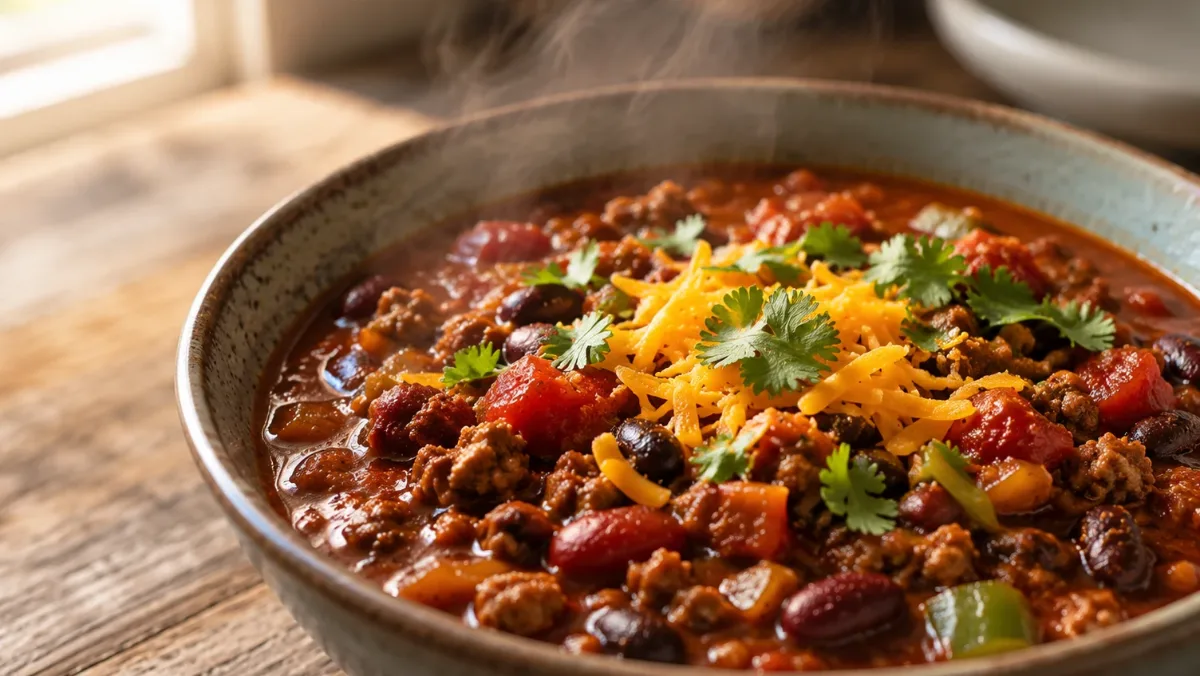
High Protein Chili Meal Prep (Freezer-Friendly)
There’s a moment, usually around Tuesday night, when you realize you’ve been eating the same sad rotisserie chicken for three days straight. Your family’s looking at you like “really, chicken again?” and you’re standing in front of the fridge wondering why meal prep suddenly feels boring. This is exactly when you need a high protein chili meal prep that actually tastes like food you want to eat, not punishment for wanting to stay on track.
A freezer-friendly chili hits different. It’s the kind of recipe that gets better as it sits in your freezer, the flavors deepening while you’re out there living your life. When you’re two weeks into the prep container rotation and you’re craving something warm, hearty and genuinely satisfying, this chili shows up like the friend who always knows exactly what you need. High protein, packed with real ingredients, ready to reheat in minutes, and filling enough that you’re not hunting for snacks two hours later.
Let me share what I’ve learned about making chili that works for meal prep: it’s not about cutting corners on flavor to pack in protein. It’s about choosing the right proteins and building layers of taste so every spoonful feels intentional. This high protein chili meal prep version uses lean ground turkey, kidney beans and a touch of cocoa to create something that tastes indulgent while delivering 28 grams of protein per serving.
Why This Recipe Deserves a Spot in Your Meal Prep Rotation
- 28g of protein per serving, thanks to lean ground turkey and beans working together to keep you full through the afternoon
- Ready in 40 minutes, which means you can make two batches while your laundry runs
- Budget-friendly ingredients you probably already have in your pantry, with no specialty items needed
- Freezes beautifully for up to three months, making it the ultimate “future you” gift when life gets hectic
Why This Chili Packs Such Serious Protein
The magic here isn’t just one ingredient doing all the heavy lifting. Lean ground turkey brings about 22 grams of protein per serving, but here’s what most people miss: the kidney beans and black beans add another 6 grams, plus fiber to keep your digestion steady and your energy stable. That combination means you’re getting a complete protein that keeps you satisfied, not just for dinner but into the next morning.
Table of Contents
When you’re building high protein meal prep around real whole foods instead of powders or additives, this is how you do it. The protein feels natural because it is natural, and you’ll actually want to eat it.
What You’ll Need
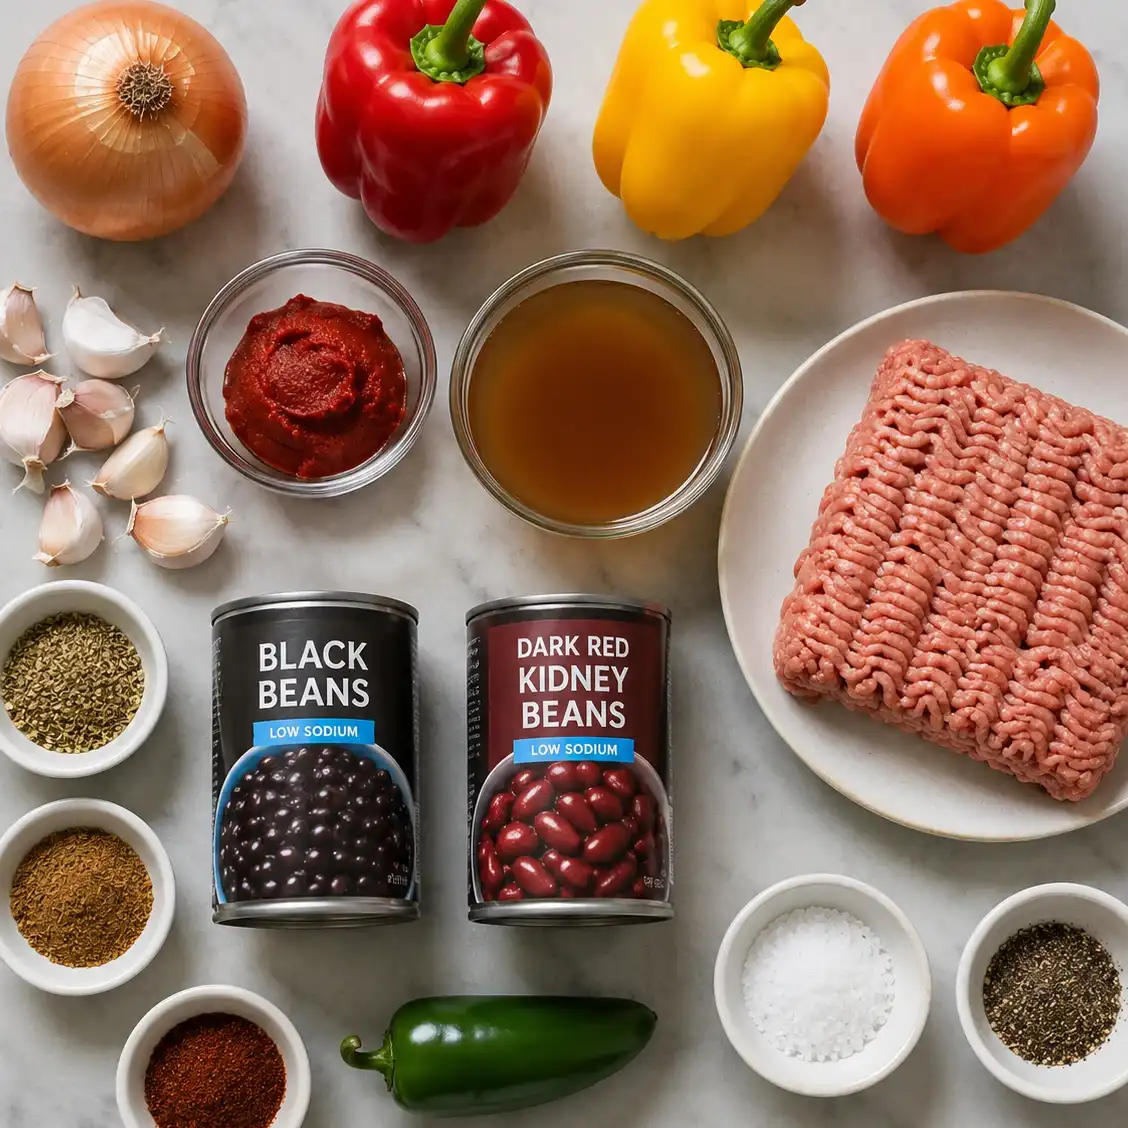
This chili builds on everyday ingredients you can grab in one grocery run. No hunting through specialty sections, no expensive add-ons. Just real food doing real work.
- 2 tablespoons olive oil
- 1.5 pounds lean ground turkey (93/7 blend works best here)
- 1 large yellow onion, diced
- 3 cloves garlic, minced
- 2 bell peppers (red or orange for sweetness), diced
- 2 cans (14.5 oz each) diced tomatoes with green chiles
- 1 can (15 oz) kidney beans, drained and rinsed
- 1 can (15 oz) black beans, drained and rinsed
- 3 tablespoons tomato paste (this concentrates the flavor beautifully)
- 2 tablespoons chili powder
- 1 tablespoon cumin
- 1 teaspoon smoked paprika
- 1 teaspoon unsweetened cocoa powder (trust me on this, it adds depth without tasting like chocolate)
- 1 cup beef broth (or chicken broth if that’s what you have)
- 1 teaspoon salt, plus more to taste
- Cracked black pepper to taste
- Optional toppings: fresh cilantro, diced red onion, plain Greek yogurt, jalapeño slices
The proteins doing the heavy lifting: The lean ground turkey keeps saturated fat low while delivering most of your protein, while the kidney and black beans contribute plant-based protein plus fiber. Choose the 93/7 ground turkey blend if you can find it, because the small amount of fat keeps the chili from tasting lean and dry.
How to Build This High Protein Chili
Step 1: Brown the turkey properly. Heat 1 tablespoon of olive oil in a large Dutch oven or heavy-bottomed pot over medium-high heat. Add the ground turkey in chunks and resist the urge to stir it for the first minute. Let it sit and develop a golden crust before breaking it into smaller pieces. This takes about 5 to 7 minutes and makes an enormous difference in flavor. You’re not just cooking it, you’re building a foundation.
Step 2: Layer in your aromatics. Push the turkey to the side, add another tablespoon of olive oil, then add the diced onion and bell peppers. Cook for about 3 minutes until the onion starts turning translucent. Add the minced garlic and cook for 30 seconds more, just until fragrant. This is where your chili starts tasting like something you actually made, not something that came from a can.
Step 3: Bloom your spices. Stir in the tomato paste and cook for 1 minute, then add the chili powder, cumin, smoked paprika and cocoa powder. Keep stirring for another minute so the spices release their oils and deepen in color. You’ll notice the kitchen smells incredible at this point. That’s not a coincidence, that’s layers of flavor coming together.
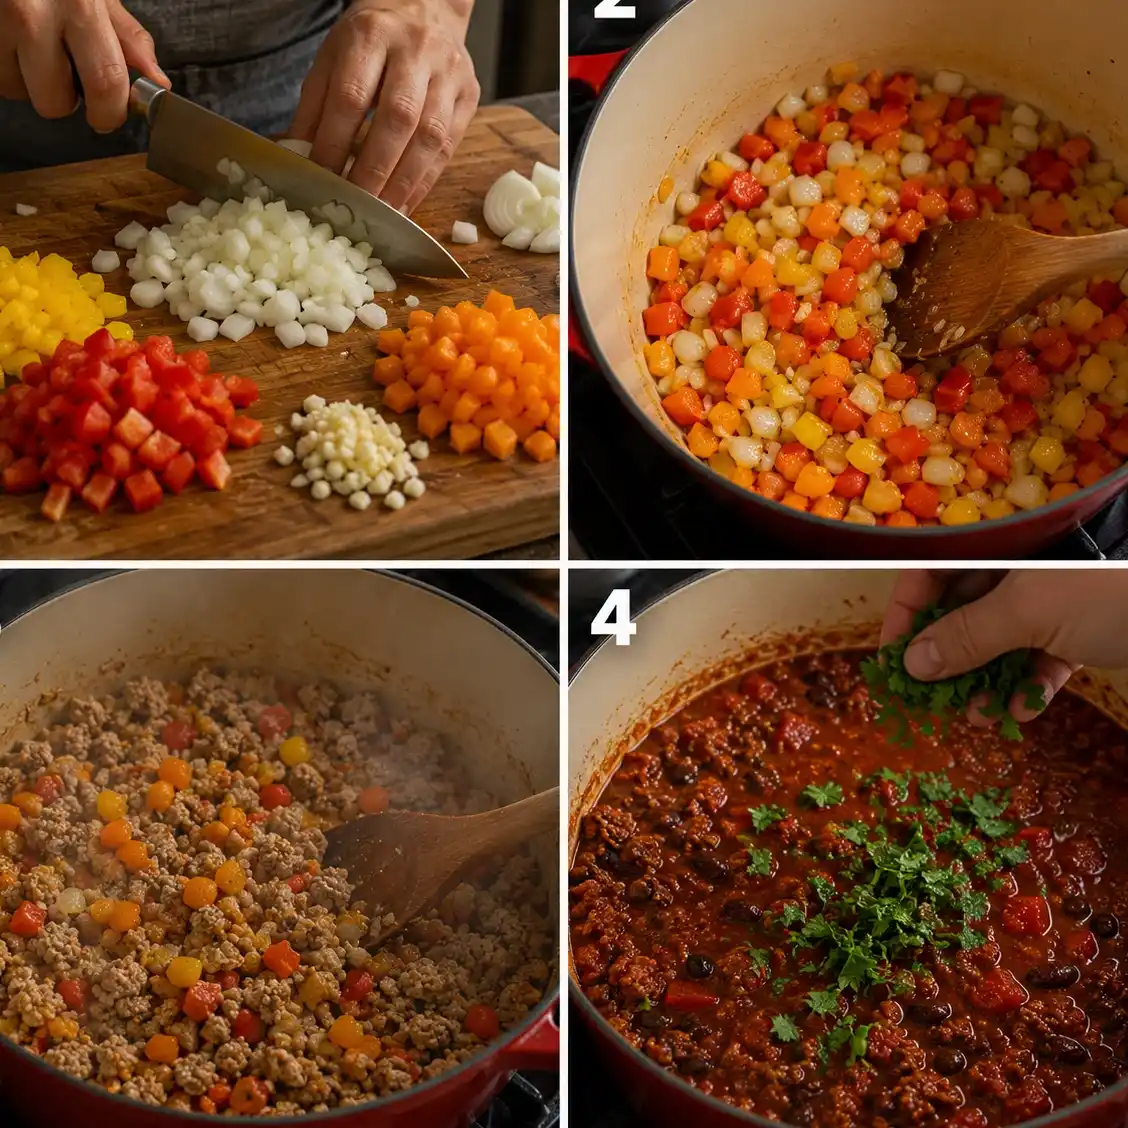
Step 4: Add your tomatoes and liquid. Pour in both cans of diced tomatoes with their juice and the beef broth. The liquid should come about halfway up the side of your pot. Stir everything together and bring it to a simmer.
Step 5: Incorporate the beans and simmer low. Add both cans of drained beans and give everything a good stir. Reduce the heat to medium-low and let it simmer gently for 20 to 25 minutes. The longer simmer time lets the flavors marry together. You’re not rushing this. Taste it at 20 minutes and adjust salt and pepper as needed. Some people like it spicer, so you might add a pinch of cayenne here if that’s your preference.
Step 6: Cool before freezing. This step matters for safety and texture. Let the chili come to room temperature for about 30 minutes before dividing it into containers. Warm chili going straight into your freezer creates steam and ice crystals that can affect the texture when you reheat it.
Emma’s Go-To Chili Tips
Swap the turkey if ground beef fits your life better. Some weeks I use 90/10 ground beef instead of turkey, and the chili gains a deeper, richer flavor. The protein count stays around 26 grams, so it’s still absolutely solid. Whatever protein you choose, make sure it’s something you’ll actually cook with again.
Freeze it in individual containers or a large batch. I prefer quart-sized containers because they thaw faster and portion-control is already done, but some weeks I freeze the whole batch in a gallon bag and reheat what I need. Both work beautifully. If you go the bag route, lay it flat in the freezer so it thaws evenly and takes up less space.
Add fresh toppings right before eating. The cilantro, diced red onion and jalapeño slices stay crisp and fresh when you add them just before digging in. A dollop of plain Greek yogurt adds another 5 grams of protein if you want to push the number even higher.
What Your Chili Looks Like Nutritionally
These estimates are per serving, based on making about 6 servings from the full batch.
- Protein: 28g
- Calories: 310
- Carbohydrates: 22g
- Fat: 9g
- Fiber: 6g
Note: Nutrition varies slightly depending on your turkey brand and the exact amount of salt you use. These numbers assume 93/7 ground turkey and no added toppings.
What to Serve Alongside Your Chili
Chili is complete on its own, but here’s how I build it into a full meal:
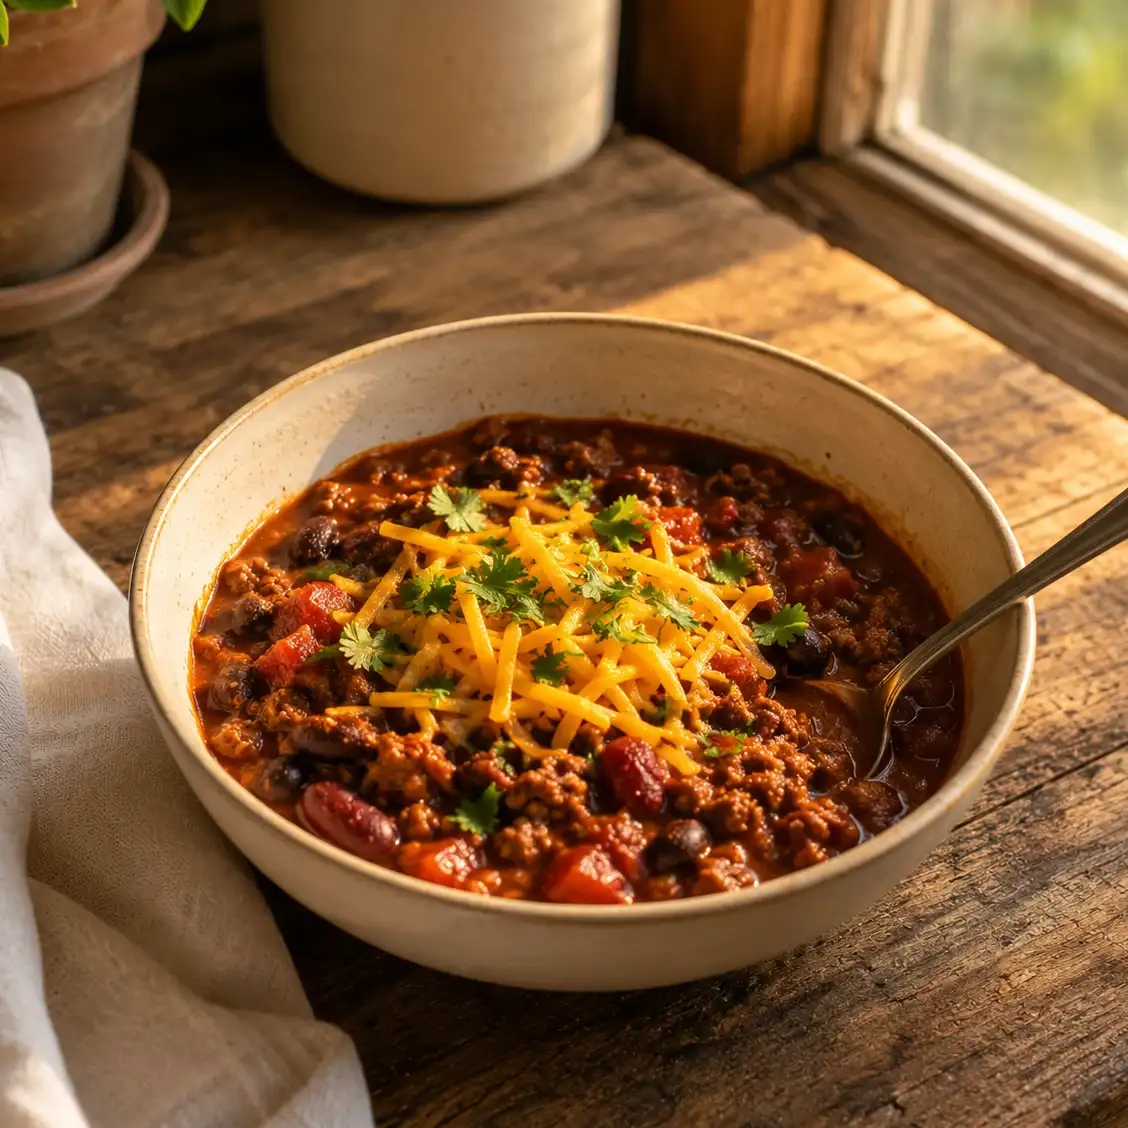
Over cauliflower rice for a lower-carb twist that lets the chili shine without weighing you down. Add shredded cheddar and you’ve got comfort food that hits your macros.
With a simple green salad. Just mixed greens, olive oil and lemon juice. The acidity cuts through the richness of the chili beautifully, and you’re adding vegetables and fiber your digestive system will thank you for.
Alongside roasted sweet potato. Top with chili and you’ve got a bowl that’s filling, nutrient-dense and tastes way more indulgent than the macros suggest.
How to Store, Reheat and Make This Last
In the refrigerator: Store cooled chili in airtight containers for up to 5 days. The flavors actually get better as it sits, so don’t hesitate to make it on Sunday and eat it all week.
In the freezer: Portion into freezer-safe containers and freeze for up to 3 months. I label mine with the date because I’m organized like that, but honestly, chili is good whenever you need it.
Reheating: Thaw overnight in the refrigerator if you have time. From thawed, reheat gently on the stovetop over medium heat, stirring occasionally, about 8 to 10 minutes. If you’re in a rush, you can reheat from frozen in a pot over low heat, just give it 15 to 20 minutes and stir frequently. A microwave works too, around 3 to 4 minutes per serving if that fits your morning.
Frequently Asked Questions
Can I make this without a slow cooker?
Absolutely. This stovetop method is actually faster and gives you more control over the flavor. The entire process takes about 40 minutes from start to finish.
What if I don’t like black beans?
Use a second can of kidney beans instead, or try pinto beans. Any bean works here as long as you’re getting that fiber and plant-based protein.
Can I add vegetables?
Yes. Diced zucchini, mushrooms or carrots all work beautifully. Add them when you add the peppers and onions. Just remember they’ll soften more the longer the chili sits, so thicker cuts hold their texture better.
Does the cocoa powder really make a difference?
It absolutely does, but use unsweetened cocoa powder and keep it to a teaspoon. It adds depth and richness without any chocolate flavor. If you don’t have it, just skip it and the chili is still phenomenal.
How much protein if I add toppings?
Plain Greek yogurt adds about 5 grams per tablespoon. Cheese adds about 7 grams per ounce. The base chili is already 28 grams though, so you’re starting from a strong place.
Can I double this recipe?
Completely. Just double everything, use a larger pot, and give it a bit more simmering time. This is exactly the kind of recipe that’s worth making in bulk for freezer-friendly meal prep across multiple weeks.
The Bottom Line on Your New Chili Strategy
This is the recipe you make when you’re serious about eating well without sacrificing actual satisfaction. It’s the one you’ll text a friend about when you’re eating it on Thursday and realizing meal prep doesn’t have to taste like deprivation. It’s the chili that fits into your real life, your real schedule and your real freezer space.
Make a batch this week. Your future self will be incredibly grateful, and your Tuesday night panic about what’s for dinner gets replaced with “oh right, I’ve got that amazing chili.” Save this to your Pinterest board, screenshot it to your phone, write it in your meal prep planner, or just remember it’s here when you need it. You’ve got this.
High Protein Chili Meal Prep (Freezer-Friendly)
Equipment
- large Dutch oven or heavy-bottomed pot
Ingredients
- 2 tablespoons olive oil
- 1.5 pounds lean ground turkey (93/7 blend)
- 1 large yellow onion, diced
- 3 cloves garlic, minced
- 2 bell peppers (red or orange), diced
- 2 cans (14.5 oz each) diced tomatoes with green chiles
- 1 can (15 oz) kidney beans, drained and rinsed
- 1 can (15 oz) black beans, drained and rinsed
- 3 tablespoons tomato paste
- 2 tablespoons chili powder
- 1 tablespoon cumin
- 1 teaspoon smoked paprika
- 1 teaspoon unsweetened cocoa powder
- 1 cup beef broth
- 1 teaspoon salt, plus more to taste
- Cracked black pepper to taste
- Optional toppings: fresh cilantro, diced red onion, plain Greek yogurt, jalapeño slices
Instructions
- Step 1: Heat 1 tablespoon olive oil in a large Dutch oven over medium-high heat. Add ground turkey in chunks and let sit for 1 minute to develop a golden crust, then break into smaller pieces. Cook 5-7 minutes total.
- Step 2: Push turkey to the side, add 1 tablespoon olive oil, then add diced onion and bell peppers. Cook 3 minutes until onion turns translucent. Add garlic and cook 30 seconds more.
- Step 3: Stir in tomato paste and cook 1 minute. Add chili powder, cumin, smoked paprika and cocoa powder. Stir for 1 minute until spices release their oils.
- Step 4: Pour in both cans of diced tomatoes with juice and beef broth. Stir and bring to a simmer.
- Step 5: Add both cans of drained beans. Reduce heat to medium-low and simmer gently for 20-25 minutes. Taste and adjust salt and pepper as needed.
- Step 6: Cool to room temperature for about 30 minutes before dividing into containers for freezing.